How to Use Crystal Pro Switch 30K Pods Correctly
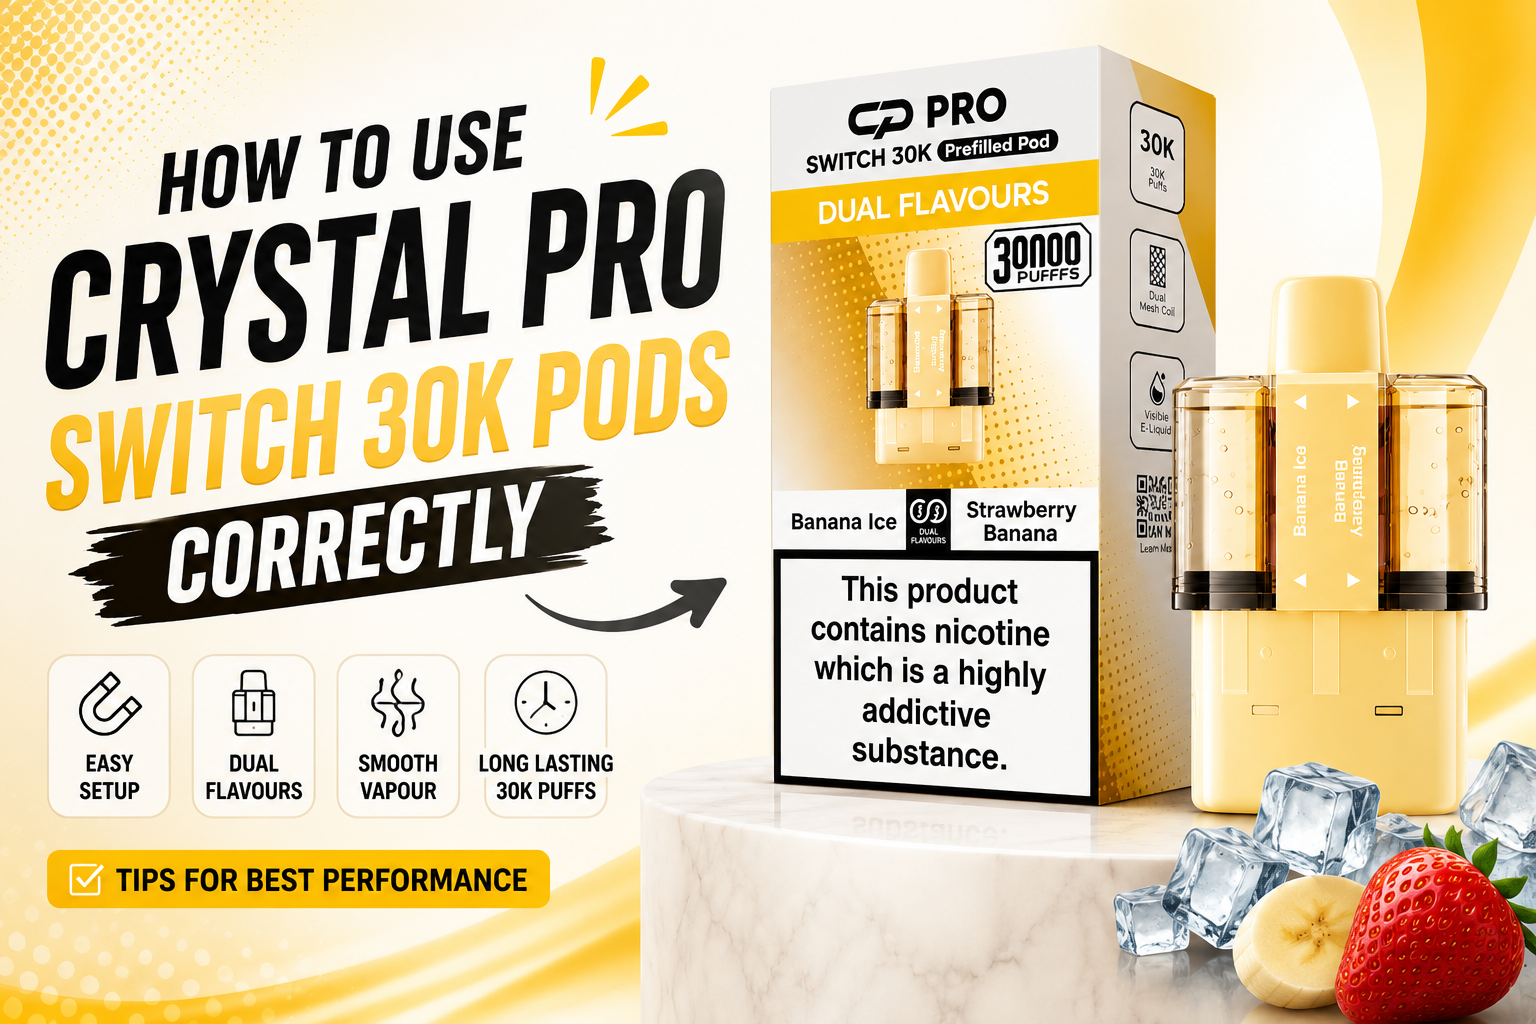
If you have recently bought Crystal Pro Switch 30K Pods, you may want to know how to set them up and use them correctly. The good news is that the system is simple once you understand how the parts fit together.
This Crystal Pro Switch 30K pod guide explains everything in easy steps. You will learn how to install the pods, connect the refill containers, check the fitting, switch flavours, replace the pods, and deal with common issues.
Following the correct steps can help you avoid problems such as a pod not fitting, a poor connection, or a dry or burnt taste.
What Are Crystal Pro Switch 30K Pods?
The Crystal Pro Switch 30K Pods are designed to work with the Crystal Pro Switch 30K pod system. The system uses compatible replacement pod parts that fit into the matching device.
The pod setup may include prefilled pod sections and refill containers, depending on the version supplied. Before using any new pod, it is important to check the packaging and follow the manufacturer's instructions.
Using the correct Crystal Pro Switch 30K compatible pods is important. A pod made for another device may not fit or connect properly.
Crystal Pro Switch 30K How Does It Work?
The Crystal Pro Switch 30K uses a pod system where the pod assembly connects with the device. The system is designed to make pod replacement and flavour switching easier.
The device may support two flavour sections, allowing the user to switch between them using the control provided on the device. Always check your specific model because the setup and controls may vary slightly.
The main idea is simple:
-
Prepare the replacement pod parts.
-
Remove any protective seals or plugs.
-
Connect the parts correctly.
-
Insert the pod assembly into the compatible device.
-
Check that everything is fitted securely.
-
Allow the pod system to settle before first use.
How to Use Crystal Pro Switch 30K Pods Correctly
If you are asking how to use Crystal Pro Switch 30K Pods correctly, start by checking every part before you connect it.
Do not rush the setup. Most problems happen when a seal is left in place, a part is not connected properly, or the pod is forced into the device.
Here is the correct Crystal Pro Switch 30K Pods step by step guide.
Step 1: Check the Pod Before Use
Before you start, remove the Crystal Pro Switch 30K replacement pods from the packaging and inspect them.
Look for:
-
Protective silicone plugs
-
Rubber seals
-
Packaging covers
-
Any visible damage
-
The correct compatible pod type
Always check the pod before use. If you notice cracks, damage, or leaking liquid, do not try to force the part into the device. Replace damaged components where necessary.
This simple check is an important part of proper usage.
Step 2: Remove Protective Seals and Plugs
A new Crystal Pro Switch 30K prefilled pod or replacement pod may have protective covers or seals. These parts are used to protect the pod during storage and transport.
Carefully remove all protective plugs as required before installation.
Pay special attention to any seal placed between the pod assembly and the device connection. If a protective seal is still in place, the device may not connect properly.
This is one of the most important Crystal Pro Switch 30K pod setup instructions for beginners.
Step 3: Connect the Pod Parts Correctly
If your replacement set includes separate refill containers and pod sections, connect them as instructed for your specific product version.
Make sure each part is properly attached before inserting the full assembly into the device.
When connecting the parts:
-
Keep the pod upright where possible.
-
Check that the parts are lined up correctly.
-
Press or connect them gently.
-
Make sure the pod is secure.
-
Avoid twisting or forcing the parts.
A secure fitting helps the pod system work as intended.
Step 4: How to Insert a Crystal Pro Switch 30K Pod
Once the pod assembly is ready, you can insert it into the device.
To insert the pod, line it up with the pod compartment and place it gently into position. Do not use excessive force.
The pod should sit correctly in the device and make a proper connection. After installation, check that it is not loose.
If the pod does not fit:
-
Remove the pod.
-
Check for leftover seals or packaging.
-
Make sure you are using the compatible pod.
-
Check the connection area for dirt or damage.
-
Try inserting it again gently.
This is the correct way to fit the pod correctly without damaging the pod connection.
Step 5: Allow the Pod to Settle
After installing a fresh pod, allow the system to sit for a few minutes before use.
This gives the liquid time to move through the pod and reach the coil area correctly. Starting too quickly may cause a dry taste or other first-use problems.
For this reason, the correct way to use a replacement pod includes giving the system time to settle after installation.
Always follow the manufacturer's instructions for your exact product version.
Step 6: Check the Pod Connection
Before using the device, check the connection between the pod and the battery section.
Make sure:
-
The pod is fully inserted.
-
The pod is sitting straight.
-
There is no packaging left between the parts.
-
The pod connection area is clean.
-
The pod does not feel loose.
A poor connection can lead to a Crystal Pro Switch 30K pod connection issue or cause the device to stop recognising the pod.
How to Switch Crystal Pro Switch 30K Pods or Flavours
One of the main features of the Crystal Pro Switch 30K pod system is its switching design.
If your device includes two flavour sections, use the switch or control provided on the device to move between them. The exact method can depend on the model version.
Do not force the switch. Move the control gently and make sure the selected pod section is correctly connected.
If one flavour seems weaker than the other, first check whether both sections are being used equally. One side may simply have less liquid remaining.
How to Replace Crystal Pro Switch 30K Pods
Knowing how to replace pods in Crystal Pro Switch 30K is simple when you follow the correct replacement process.
1. Remove the Old Pod
First, carefully remove the pod from the device. Hold the device securely and take the pod assembly out gently.
Do not pull or twist the pod with too much force.
2. Check the Pod Compartment
Before installing a new pod, inspect the pod compartment.
Look for:
-
Dust
-
Liquid residue
-
Damaged parts
-
Loose material
Keep the connection area clean and dry.
3. Prepare the New Replacement Pod
Remove the new replacement pod from its packaging and take off any required protective seals or plugs.
Check the pod for visible damage before installation.
4. Insert the New Pod
Line up the replacement pod correctly and insert it gently into the compatible device.
Make sure the pod is secure and the connection is properly made.
5. Let the New Pod Settle
After installation, give the new pod time to settle before use.
This Crystal Pro Switch 30K pod replacement guide can help reduce common setup mistakes.
How to Remove Crystal Pro Switch 30K Pods Safely
Many users also ask, how do I remove a Crystal Pro Switch 30K Pod?
The best method is to hold the device firmly and remove the pod gently from its normal fitting position.
Avoid:
-
Pulling too hard
-
Using sharp tools
-
Forcing the pod sideways
-
Damaging the pod compartment
If the pod feels stuck, check whether there is a locking mechanism or another reason it is not coming out easily. Do not force it.
How Do You Know If the Pod Is Fitted Correctly?
A correctly installed pod should sit properly inside the device and make a secure connection.
Signs of correct installation include:
-
The pod sits in the correct position.
-
It does not move around loosely.
-
There are no protective seals blocking the connection.
-
The device recognises the pod as expected.
-
There is no visible damage around the fitting area.
If the pod does not sit correctly, remove it and check the fitting again.
Crystal Pro Switch 30K Pod Care Guide
Taking care of your pod system can help you avoid many common problems.
Keep the Device Clean
Regularly check the pod connection and keep the area clean. Dust or liquid residue can sometimes affect the connection.
Use a clean, dry cloth or suitable dry cleaning method for the connection area. Avoid allowing excess liquid to enter the battery section.
Avoid Forcing the Pod
Always avoid forcing the pod into or out of the device. If it does not fit easily, stop and check whether you are using the correct pod.
Check for Visible Damage
Inspect the pod and connection points regularly. If you notice visible damage, cracks, or broken parts, replace the damaged components.
Store the Device Carefully
Keep the device in a suitable place and avoid unnecessary pressure on the pod system. Extreme heat may also affect electronic devices and pod components.
Crystal Pro Switch 30K Troubleshooting
Even when you follow the correct steps, you may sometimes experience a problem. Here are some common Crystal Pro Switch 30K troubleshooting checks.
Crystal Pro Switch 30K Pods Not Working
If your Crystal Pro Switch 30K Pods not working issue happens after installation, do not immediately assume the pod is faulty.
Check the following:
-
Is the pod fully inserted?
-
Have all required protective seals been removed?
-
Is the pod compatible with your device?
-
Is the connection area clean?
-
Does the pod have visible damage?
-
Has the device been prepared according to the manufacturer's instructions?
Remove and reconnect the pod carefully if needed.
Crystal Pro Switch 30K Pod Not Connecting
A Crystal Pro Switch 30K pod not connecting problem may happen when the connection area is dirty or the pod is not fitted correctly.
Try these steps:
-
Remove the pod.
-
Check the connection points.
-
Clean away any dust or visible residue carefully.
-
Make sure no seal is left behind.
-
Reinsert the pod gently.
-
Check that the pod is secure.
If the problem continues, stop using damaged parts and refer to the manufacturer's instructions.
Crystal Pro Switch 30K Pod Not Fitting
If you have a Crystal Pro Switch 30K pod not fitting issue, do not force it.
First, make sure you have the correct Crystal Pro Switch 30K compatible pods. Then check that no protective material is blocking the pod compartment.
The pod should be aligned correctly before insertion.
If it still does not fit, the pod or device may need further inspection.
Crystal Pro Switch 30K Device Not Recognising Pod
If the Crystal Pro Switch 30K device not recognising pod problem occurs, check the pod connection first.
Make sure:
-
The pod is compatible.
-
The pod is inserted fully.
-
The connection area is clean.
-
No protective seal remains in place.
-
There is no visible damage.
Removing and fitting the pod again carefully may help. If the issue continues, follow the manufacturer's instructions for your device.
Crystal Pro Switch 30K Pod Replacement Problems
Crystal Pro Switch 30K pod replacement problems often happen because of incorrect fitting or leftover packaging seals.
Before replacing the pod, always:
-
Check the new pod.
-
Remove the required protective covers.
-
Clean the connection area.
-
Insert the pod gently.
-
Make sure the pod is secure.
Following these steps can help prevent many common problems.
Common Mistakes to Avoid
When using a new pod system, avoid these mistakes:
Rushing the Setup
Take time to follow the correct steps. A quick setup can lead to missed seals or an incorrect pod connection.
Using an Incompatible Pod
Always use the correct replacement pod designed for your device.
Forcing the Pod
If a pod does not fit, remove it and check the alignment instead of using force.
Ignoring Visible Damage
Do not continue using damaged pod components. Check for cracks or other visible problems before installation.
Forgetting to Clean the Connection
Keeping the pod connection clean can help maintain a proper device connection.
Frequently Asked Questions
How Do You Use Crystal Pro Switch 30K Pods?
To use Crystal Pro Switch 30K Pods, prepare the compatible pod, remove the required protective seals, connect the parts correctly, insert the pod securely, and follow the manufacturer's instructions for your specific model.
How Do You Install Crystal Pro Switch 30K Pods?
To install the pod, check that it is compatible, remove any required protective packaging, align it with the pod compartment, and insert it gently. Make sure the pod is secure.
How Do You Replace Crystal Pro Switch 30K Pods?
Carefully remove the old pod, check and clean the connection area, prepare the new replacement pod, and insert it correctly into the device.
Are Crystal Pro Switch 30K Pods Easy to Change?
The Crystal Pro Switch 30K pod replacement process is generally simple when you use the correct compatible pod and follow the proper installation steps.
Can I Replace the Pod in Crystal Pro Switch 30K?
The device uses a replaceable pod system. Always use the correct replacement parts intended for your specific Crystal Pro Switch 30K model.
What Should I Do If the Crystal Pro Switch 30K Pod Does Not Fit?
Do not force the pod. Check that it is the correct compatible pod, remove any protective seals, inspect the pod compartment, and align the pod correctly.
How Do I Clean the Crystal Pro Switch 30K Pod Connection?
Keep the connection area clean and dry. Carefully remove dust or visible residue using a suitable dry cleaning method, and avoid damaging the connection points.
Why Is My Crystal Pro Switch 30K Pod Not Working?
Check whether the pod is fitted correctly, whether protective seals have been removed, whether the connection area is clean, and whether the pod is compatible with the device.
Final Thoughts
Learning how to use Crystal Pro Switch 30K Pods correctly is mainly about taking your time during setup.
Check the pod before use, remove the required protective seals, connect the parts carefully, and make sure the pod is fitted securely. Keep the device connection clean and never force a pod into place.
If you are using Crystal Pro Switch 30K replacement pods for the first time, following this Crystal Pro Switch 30K user guide can help you understand the correct installation and replacement process.